
If you wash your car and let it air dry, you are inviting water spots, dull paint, and fine scratches that show up the next time the sun hits your hood. Drying is the step that turns a clean car into a glossy one. In this guide, I will show you how to properly dry your car after washing with the same methods we use at Pro Detailing across the DMV and Northern Virginia. You will get gear recommendations that actually matter, finish-specific techniques for ceramic coated, graphene coated, matte, and PPF vehicles, plus a simple playbook you can follow in your driveway. Keep it practical, fast, and safe for the paint.
Use this as your go-to, then bookmark it under car detailing for later. If you want us to handle it on-site, our mobile car detailing team can come to you anywhere in Fairfax, Arlington, Alexandria, Loudoun, Manassas, Reston, Ashburn, Sterling, and nearby.
The goal when drying a car
- Prevent mineral spotting from hard water
- Avoid micro-marring and swirl marks
- Remove hidden water from seams and trim
- Leave a slick, clear, glassy finish that makes future washes faster
Get those four right and your paint will stay healthier, longer. The technique below is designed to work whether you just did a quick car wash at home or a full decon and car ceramic coating service.
Gear that actually helps you dry without scratching
You do not need a closet full of boutique towels. You need the right types and to keep them clean and separated.
Microfiber towels by job
- Body drying towel: 1100 to 1400 GSM twist-loop microfiber, 20×30 or larger. These soak water fast and glide without dragging.
- Lower panel towel: 600 to 800 GSM so you are not grinding the same towel into the dirtiest sections.
- Glass towel: 350 to 450 GSM waffle weave or tight-knit edgeless. Straight-line glass passes only.
- Edge binding: If you buy bound towels, make sure the edges are soft microfiber or silk. No scratchy seams.
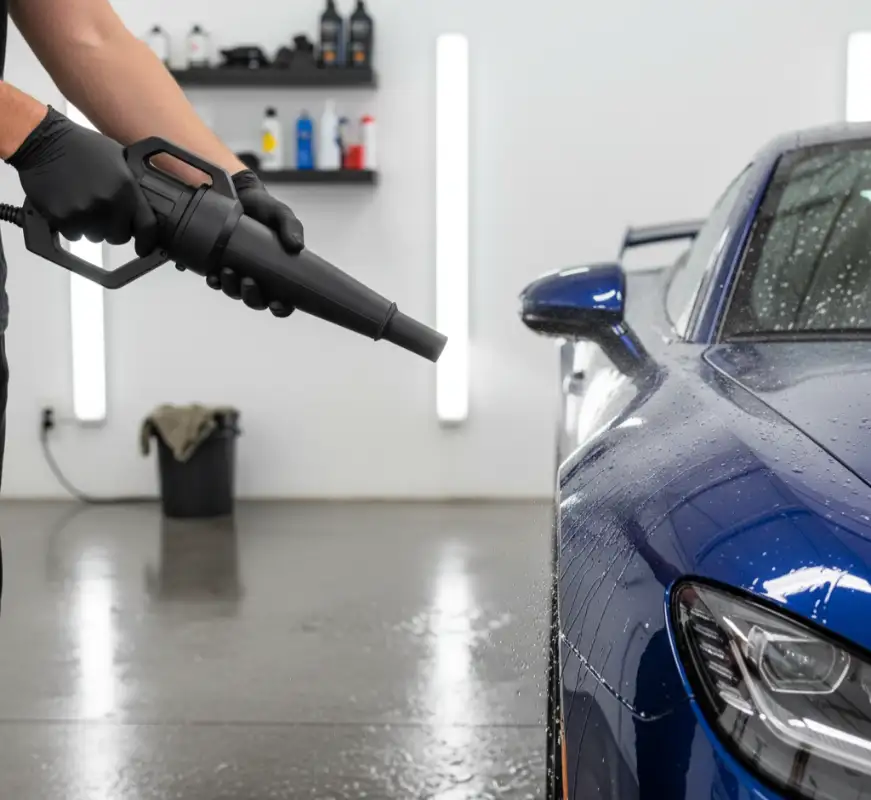
Blower or air source
- Handheld car dryer or filtered shop blower helps purge water from mirrors, emblems, window seals, fuel doors, license plate areas, lugs, and grille.
- Use filtered intake and a rubber or plastic nozzle. Keep the tip a few inches off the paint.
Drying aid
- A light spritz of a polymer or SiO2 spray on wet paint can reduce friction and boost gloss.
- Use a coating-safe topper on ceramic or graphene coated cars to enhance hydrophobics.
- Avoid gloss enhancers on matte or satin finishes.
Buckets and accessories
- A clean rinse bucket to re-wet towels if needed
- Separate caddy for body towels, glass towels, and lower-panel towels
- Nitrile gloves in winter so you can feel the towel and keep a secure grip
Pro tip: reserve one tote marked “DRYING ONLY” for these towels. Cross-contamination is the fastest way to add swirls.
Choose your method: quick decision tree
Your car is ceramic or graphene coated and water beads everywhere
Use the blower-first hybrid below. Fastest, safest, least contact.
Your car is not coated and you are drying in the shade
Use the pure towel method with lay-and-lift blotting and a light drying aid.
You park outside in sun or have very hard water
Work in smaller panels, use the sheeting rinse trick, and keep a glass towel ready for quick spot patrol.
It is cold or you are doing a rinseless wash in an apartment lot
Use the rinseless winter method and purge hidden water immediately so it does not refreeze.
Your finish is matte or you have PPF
No gloss-boosting drying aids on matte. Press and lift; do not buff to shine. For PPF, warm panels release water more easily.
Also Read: Car Detailing vs Car Wash: Which One Does Your Car Really Need?
Step-by-step drying playbooks
1) Blower-first hybrid method
This is our go-to for coated cars and dark paints where you want near-zero towel contact.
- Sheet the rinse
After your final rinse, remove the nozzle and let a smooth stream of water sheet off each panel. This reduces beads by half before you even grab a towel. - Light mist of drying aid
One mist per panel while it is still wet. Do not soak. You are adding slip, not washing again. - Blower pass, top to bottom
Start at the roof and pillars, then mirrors, emblems, windshield trim, wiper bases, fuel door, grille, wheel spokes, and lug holes. Keep the nozzle moving. - Single contact pass
Use a clean twist-loop towel to blot any remaining beads. Do not drag. Lay and lift. Swap towels if you feel drag. - Glass last
Switch to your dedicated glass towel. One light spritz of water or glass cleaner, straight lines only, no circles.
Why it works: you remove most water without touching the paint, then finish with controlled blotting that will not add haze.
2) Pure towel method
You can get a perfect finish with towels alone if you respect the order and keep friction low.
- Flood rinse to sheet
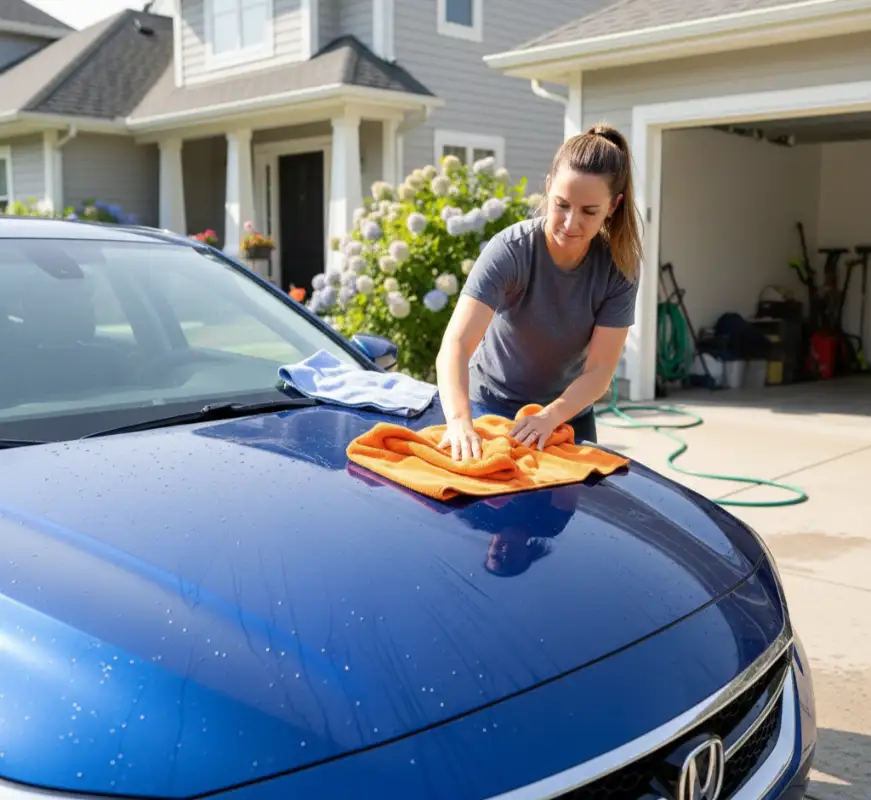
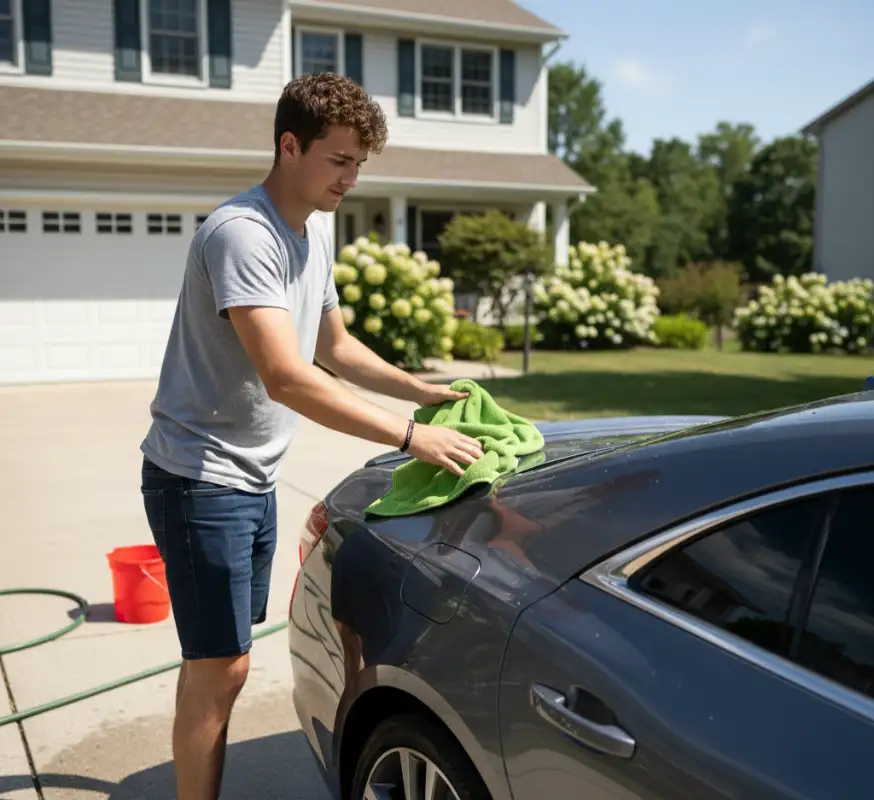
Same goal as above. Less water on the surface means less chance of spotting. - Lay-and-lift on the roof
Set your large towel flat, light hand pressure, then lift. Do not push and wipe. Move to the next section, overlapping slightly. - Panel sequence
Roof, glass, hood, trunk, upper doors, upper fenders, then lower doors, rockers, bumpers. Swap to your lower-panel towel before you cross the midline. Keep dirty panels last. - Edges and seams
Fold the towel and use a dry corner along window trim, door handles, and badges. - Glass is its own job
New towel. Very light product if any. Straight lines side to side on the windshield and rear glass, up and down on side glass so you can see which side left the streak.
When to use this: uncoated cars, shaded driveway, no blower handy, or winter days in a garage.
3) Rinseless winter method
For cold days or apartment garages where hoses are not an option.
- Rinseless wash panel by panel
Clean a panel, then immediately blot dry before moving on. This prevents flash spotting. - Purge hidden water right away
A quick burst of filtered air or a towel edge under the mirror housing and around trim. If it drips later, it will leave trails. - Protective topper
Finish with a coating-safe spray topper or a polymer sealant. Hydrophobics help future drying go faster and safer.
Beat hard water and sun before they beat your paint
- Work in the shade whenever possible. If not, keep panels small and move quickly.
- Use the sheeting trick before towels. It removes a surprising amount of water without touching the paint.
- Final distilled spritz on high-visibility panels can stop calcium spotting if your tap water is brutal.
- Do not re-wet a panel that has already begun to dry. Dry it fully, then move on.
Hidden water purge checklist
These are the areas that drip streaks down your beautiful work five minutes after you put the towels away. Purge them in this order:
- Side mirrors and mirror bases
- Window trim top edge and vertical channels
- Emblems, badges, and model lettering
- Door handles and keyholes
- Fuel door surrounds and hinge
- Wiper cowl, washer nozzles, and base gaskets
- Grilles and lower bumper vents
- License plate and bracket
- Trunk seam and weather strip channel
- Lug holes and wheel spokes
- Sunroof seal and antenna base if applicable
Hit each with a gentle blast of filtered air or dab with a folded towel corner.
Finish-specific drying tips
Ceramic or graphene coated paint
- Use a coating-safe drying aid and the blower-first hybrid.
- You need less product than you think because the coating is already slick.
- Keep your topper in your car ceramic coating cabinet so you do not cross-use on matte finishes.
Matte or satin paint
- No gloss-boosting products.
- Use blotting only. Press and lift.
- Use a perfectly clean towel dedicated to matte.
PPF (paint protection film)
- Warm panels dry faster. Early afternoon is better than sunrise.
- Avoid high heat from compressors. Keep the blower moving.
Time and towel calculator
This is a simple guide to plan your session and avoid rushing.
- Sedan or compact: 2 large twist-loop body towels, 1 lower-panel towel, 1 glass towel. Plan 15 to 20 minutes.
- SUV or crossover: 3 large body towels, 1 lower-panel towel, 1 glass towel. Plan 20 to 30 minutes.
- Truck or full-size SUV: 4 large body towels, 2 lower-panel towels, 1 glass towel. Plan 25 to 35 minutes.
If a towel starts to feel damp and draggy, retire it. Friction is the enemy.
Mistakes that create swirls and streaks
- Dragging a towel loaded with grit across lower panels
- Mixing glass towels with body towels
- Drying in direct sun and chasing evaporating spots
- Using an unfiltered leaf blower that spits debris
- Skipping the hidden-water purge and letting mirror drips streak the door
- Over-using drying aid so it smears rather than slicks
Fix: slow down, swap towels sooner, and stick to the sequence.
After-dry boosters that keep the gloss longer
- Spray sealant or coating topper to refresh hydrophobics after the car is fully dry
- Tyre and trim care so the overall look pops, not just the paint
- Glass polish every few months to reset clarity and make drying faster next time
This is also when you evaluate if it is time for a maintenance detail, a fresh topper, or a full car ceramic coating upgrade.
Local advantage in the DMV and Northern Virginia
Water here can be inconsistent. Some neighborhoods have harder mineral content that spots quickly. Shade can be limited on townhome streets. The playbooks above are tuned for that reality. If you want a pro to handle it, Pro Detailing offers on-site car wash and mobile car detailing packages with coating-safe toppers that make future drying a breeze. We serve Fairfax, Arlington, Alexandria, Loudoun, Manassas, Reston, Ashburn, Sterling, and the wider DMV.
Frequently asked questions
Is towel blotting really better than wiping?
Yes. Blotting removes water with almost no lateral friction, which is where micro-marring happens. If you must wipe, use a fresh twist-loop towel with almost no pressure and straight lines.
Can I use a leaf blower to dry my car?
Only if it is clean and filtered. Many leaf blowers inhale dust and shoot it at the paint. A purpose-built car dryer with a filtered intake is safer.
What towel GSM should I buy for drying?
Use 1100 to 1400 GSM twist-loop for body panels, 600 to 800 GSM for lower panels, and 350 to 450 GSM waffle weave for glass. Edgeless or soft-bound edges only.
How do I prevent water spots with hard water?
Sheet the rinse, work in small shaded sections, and finish high-visibility panels with a light spritz of distilled water before blotting. Topping protection also helps beads release faster.
What is the safest way to dry a ceramic coated car?
Blower-first hybrid. Light coating-safe drying aid, air to remove the bulk, then a single blotting pass with a clean towel.
How do I dry in winter without making a skating rink on my driveway?
Use a rinseless wash inside your garage or a covered area, then blot panel by panel and purge water from seams immediately.
Should I dry the glass first or last?
Last. If you start with glass, water from the roof or pillars can run down and spot it again. Dry the body, then finish with glass using a dedicated towel and straight-line passes.
How long should a proper dry take?
Sedans are usually 15 to 20 minutes. SUVs are 20 to 30 minutes. Bigger vehicles run 25 to 35 minutes. If it is taking much longer, you are probably over-working panels or your towels are saturated.
Quick comparison: towel vs blower vs hybrid
- Towel only
Best when you have shade and time. Use lay-and-lift blotting, keep towels clean, and separate glass from body. - Blower only
Fast and safe for coated cars. Still check for light beads and hidden drips, then touch up with a towel corner. - Hybrid
The pro choice. Air for seams and most water, single blot pass for perfect clarity, then glass. Minimum contact, maximum gloss.
Final checklist you can follow today
- Shade if possible
- Sheet the rinse
- Dry top to bottom, small sections
- Blower for trims, mirrors, badges, and seams
- Blot with clean twist-loop towels
- Separate lower panels and glass towels
- Patrol for hidden drips
- Top with a coating-safe spray for slickness
Ready for an easy win next wash?
Drying is where results happen. Follow this routine and you will see deeper gloss, fewer spots, and fewer swirls. If you want to skip the hassle, book Pro Detailing for on-site mobile car detailing anywhere in Northern Virginia. Ask about our car ceramic coating toppers that make drying take half the time. If you are tint curious while you are at it, our window tinting team can help reduce interior heat and protect your trim, which also makes post-wash drying more pleasant in the summer. See us on Instagram.